Friday, July 9, 2010

Something From the Past...

Right now my sewing room is being occupied as the guest room by a special guest.  I found some pictures of a quilt I made a few years ago as a gift for this particular guest and I thought I'd share them.  The pattern came from this book.
Her favorite colors are olive greens.  My special assistant (my husband) suggested adding a splash of purple.  I love the addition.
I love this quilt.

Saturday, June 19, 2010

It Is Finished - Looking for Summer

I've called it "Looking for Summer" because I've been working on it throughout winter and this long spring as we impatiently wait for summer to arrive.  It seems that spring has over stayed it's welcome this year and I am ready for the bright sun shiny days of summer.  So here is my bright sun shiny quilt as we are "Looking for Summer."
There is a story behind this lovely gem:
Auntie was a member of a cotton club about 25 years ago where members received a sampling of four inch cotton squares on a regular basis.  She collected these squares for years.  Some time ago when she learned that I enjoyed sewing too, she gave me her box full of about a thousand four inch squares.  They were all so beautiful and unique.  I would get them out just to play - sort - admire - drool over them.  I finally decided to design a quilt so I could use some of them.  I still have hundreds left for another project someday.  I sorted out the brightest ones I could find in the collection and came up with my new beauty. 
I'm in love with it!
I tried a new basting method for me.  I usually do the, lay it out on the floor and pin the heck out of it, method but not this time.  I wanted to try fusible batting on this one and see if I might get less puckers.  I think I'm in love!  It was so easy to put together.  I ironed in together and just pinned around the edges for security.  It held together throughout the entire quilting process and I had ZERO puckers!  Yes, I will use that again.
I bound it with strips of bright scraps to add to the colorfulness.  It measures 66 x 78" and my daughter has already spoken for it so it's first home will be on her bed.

Friday, June 11, 2010

Yippee!! My First Win!!

See!  All that commenting to enter give-aways paid off.  I got my first win from Vanessa at V & Co..  I can't wait to receive the patterns and fabric in the mail from Green Fairy Quilts.
Thank you!  Thank you!
My kids are vacuuming and I just won more stuff to sew... This is turning out to be a great day!!

Wednesday, June 9, 2010

I'm working on it...

So lately I've been sitting more at my sewing machine than at my computer, (I'd rather be sewing anyway) because I'm in the middle of something great!  It has lots of bright colors and some white too.
It's nearly finished so come back soon and I'll show you what I've made.  There a story behind this one too.

Tuesday, May 25, 2010

Journals

These journals were inspired again by Bloom.  (I'm in the middle of a Bloom obsession right now....) but I thought they would be nice for teacher's gifts for the end of the school year and piano teachers too.
I just used 5x8" notebooks that I picked up for cheap and they were pretty easy to make.  I may have to make a bunch more in the future.  Don't be surprised if you find one in your stocking.  I think I'll be more creative next time and try some other looks.

Thursday, May 13, 2010

A Silly Bag

The inspiration for this cute and silly bag came from another of my favorite blogs:  Bloom.  I love her style and just reading through her blog is relaxing.  I thought this bag looked so fun.  I decided to make it a bit bigger and use it as a diaper bag.  That old black hospital issue thing is frumpy and not cute.  It was time for my diaper bag to break out of black!
Mine measures about 10.5 inches tall and about 14 inches wide with a 4 inch wide base.  
I did Bloom's faux-piped handles and I like how they turned out too. 
 I also put pockets inside.  
My favorite part though is the little ric-rac flower I made to put on the velcro clasp.
I've been toting it around some lately and I love it!

Tuesday, May 4, 2010

Day-In-The-Life-Project @ Peanut Blossom

One of the blogs that I enjoying getting lost in is Peanut Blossom and I love this project that she is doing.  I've said many times that photography is a hobby I would like to develop if I could .... Well, I'm going to join this project and make one step in that direction.  My camera is nothing special but I don't think it has to be for this.  I'm excited to see what I can capture during one day of my life.  Anyone want to join me??

Monday, May 3, 2010

April Book Club

For our April Book Club, we read "The Traveler's Gift" by Andy Andrews.  Wow!  What a great book!  It is packed with so many inspiring and encouraging lessons but I love the story.  What a fun story to capture our imaginations and teach us at the same time how to be successful at life.  I first read this book several years ago and I remember that it was good then too, but opening it again, at a different stage of life was like a whole new experience.  I think I might buy a copy for myself so I can read it again and again and mark it up.  I need to take some of the thoughts and post them on my mirror to read often.  Anyway, I highly recommend this one!

Twiggy Table Runner

I was so excited to get back on my sewing machine after I got it back from the spa... a.k.a. annual maintenance.  I had this project started, but while I was without my machine, I couldn't stand to let it sit so I quilted it by hand.  Then I just had to sew on the binding.  I love the way hand quilting looks though, and something small like this doesn't take too long.  It's worth it.  I think it turned out great and I love the colors.  The fabric comes from a charm pack labeled "Twiggy," I picked up on the clearance table at a local quilt shop.  Also, I have seen where others have done a splash of color on the back of their quilts and I really liked it, so I thought I'd try that too.  I took some of my extra border and binding strips and splashed it across the back.  I like it!  The inspiration for this table runner came from one on Moda Bake Shop called Sugar Cookies Table Runner.


I have always feared hexagons.  But I decided to give this one a try and I'm glad I did.  I made it simpler for me, though, by making a paper piecing pattern instead of cutting out each intricate shape.  I have used paper foundation piecing many, many times and it always works well for me.  Capt. Awesome is so smart and charming (sigh!), he made the patterns for me on the computer. I'll try to post the patterns later for anyone who wants to try them out.

Monday, April 19, 2010

Scrap Bakery

I love Moda Bake Shop!!  It's one of my all time favorite sites to get lost in.  I have a "need to make" wish-list from that site long enough to last until I'm 90 and they keep adding great new projects.  Anyway, I have learned a way to organize my scrap collection so it matches the Moda pre-cuts so I can easily use my own scrap stash to make their great projects.  True, my scraps are not nearly as cute and coordinated as their fabric lines but... it's workable.  (Giving credit where credit is due:  I learned this from a class at a local quilt shop.)  
Ok, so Moda pre-cuts are:
Layer Cake --- 10" square
Charm Pack --- 5" square
Dessert Roll --- 5" strips
Jelly Roll --- 2 1/2" strips
Honey Bun --- 1 1/2" strips

1.   Decide if your scrap is big enough to leave big.  What I mean is, if it is a big enough chunk of fabric that you could really use it somewhere significant, save it for that.  My rule is, if I can get more than 2, 10" squares out of it, then I'll save it.  Big scraps can also be used for piecing together the back of a quilt.

2.   Iron your scrap.

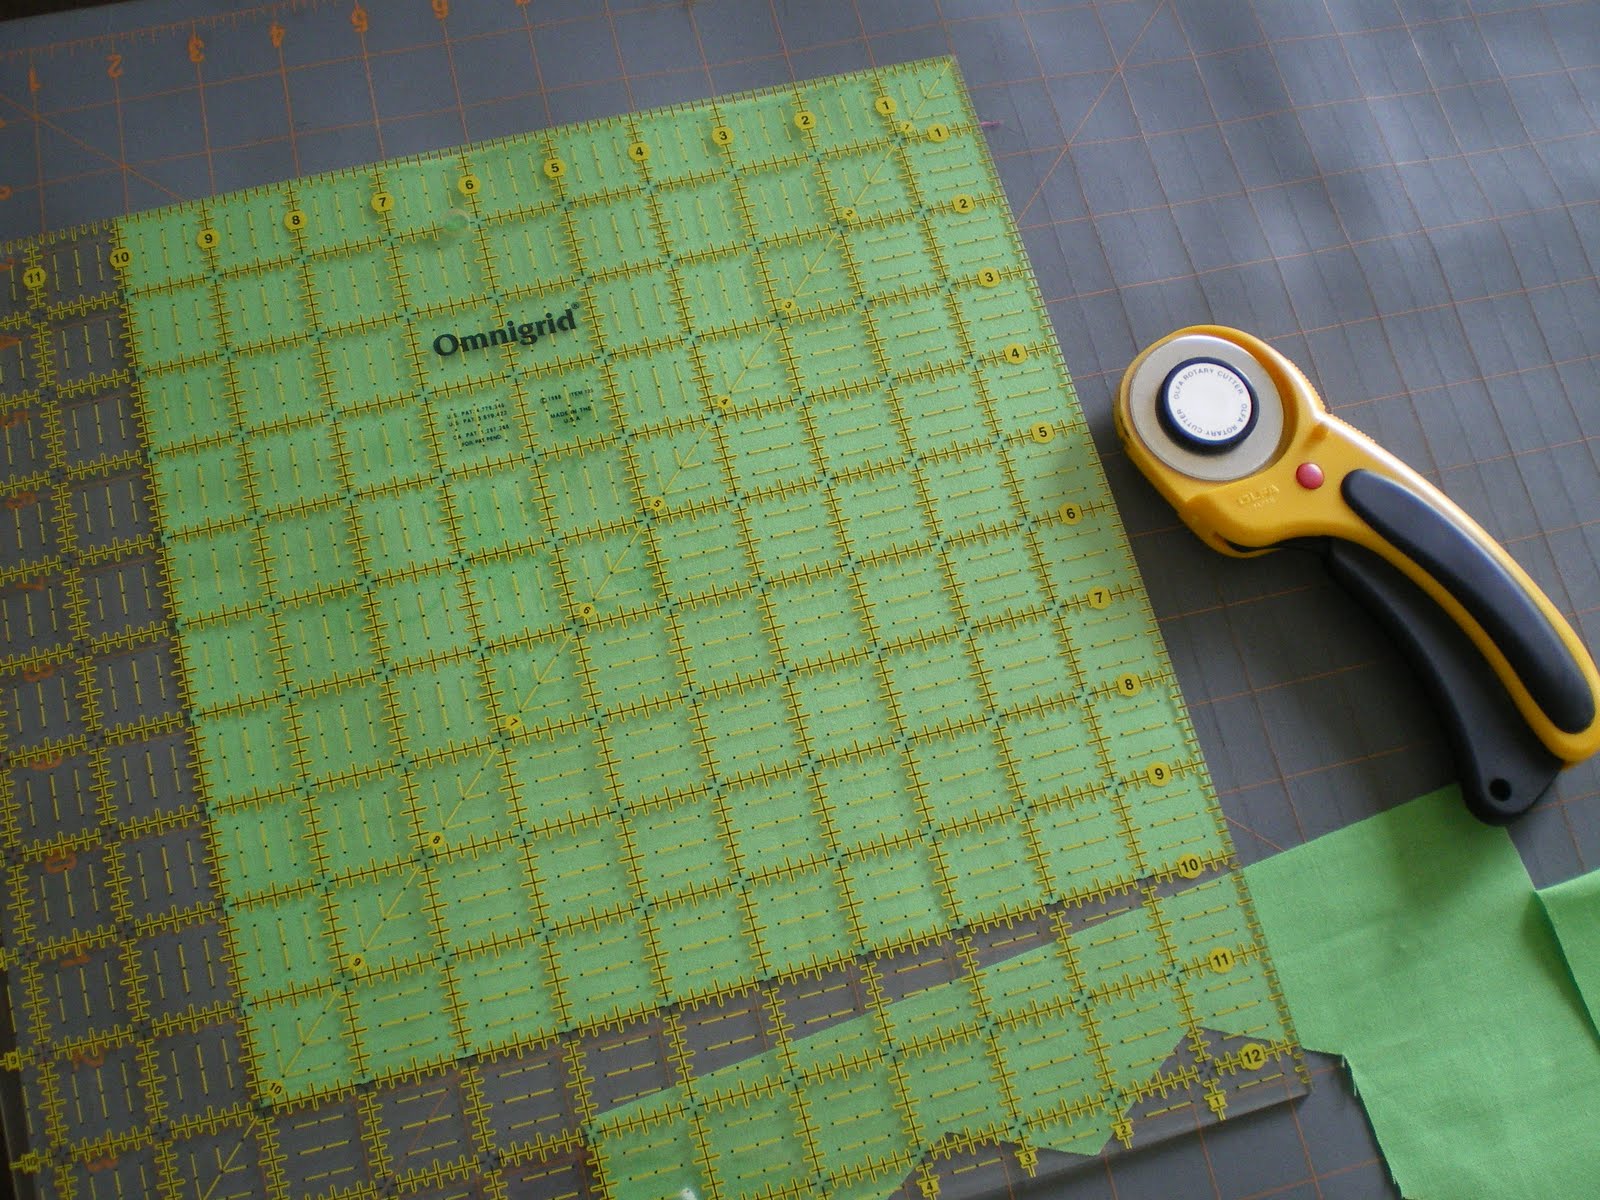
3.   Always start cutting with the biggest size first.  A larger piece can always be cut down to a smaller size later if that is what you might need.  If you can fold the fabric and get a 10" strip, that is a great first cut.  I use a large square ruler (12.5") and cut 10" squares.

4.   The next biggest cut will be 5" strips.  If your remaining scrap is big enough for a 5" strip, cut that.  If you can only cut a 5" square, that is good too.  If not,  move on to the next size...

5.   Square the ends.

6.   The next size is 2.5".  If you can get a 2.5" strip out of what remains, cut that.  Or cut a 2.5" square...

7.   Continue to the next size:  1.5" strips.  I usually don't cut 1.5" squares.  That's just too small for me, but you can do your scrap collection however you want to meet your desires.  Sometimes I might cut a 1" strip if it works out that way, but that seems to be rare.  And don't be afraid to throw away some.  Many of my scraps have been sitting around so long they are lucky to get this second chance so I'm ok throwing away a little to make the rest possibly useable.

8.   Store the revived scraps in neat piles, ready to use soon!
Piles of colorful scraps... neatly cut and organized.  I love the possibilities...

Don't feel limited to this pattern.  If you are more likely to use different sizes, by all means, cut what you will use.  Maybe:  12", 6", 3", 1.5", etc. 
Hopefully this is a helpful little trick for you.  Ideally, I would cut my scraps up like this right away so I wouldn't have a huge bin full and waiting, but... my next project is usually tempting me and I'd rather do it instead.  Soooo, cutting scraps is what I do when I have some down time, or my sewing machine is getting a tune up like right now.
Good Luck!