
Layer Cake --- 10" square
Charm Pack --- 5" square
Dessert Roll --- 5" strips
Jelly Roll --- 2 1/2" strips
Honey Bun --- 1 1/2" strips
1. Decide if your scrap is big enough to leave big. What I mean is, if it is a big enough chunk of fabric that you could really use it somewhere significant, save it for that. My rule is, if I can get more than 2, 10" squares out of it, then I'll save it. Big scraps can also be used for piecing together the back of a quilt.
2. Iron your scrap.

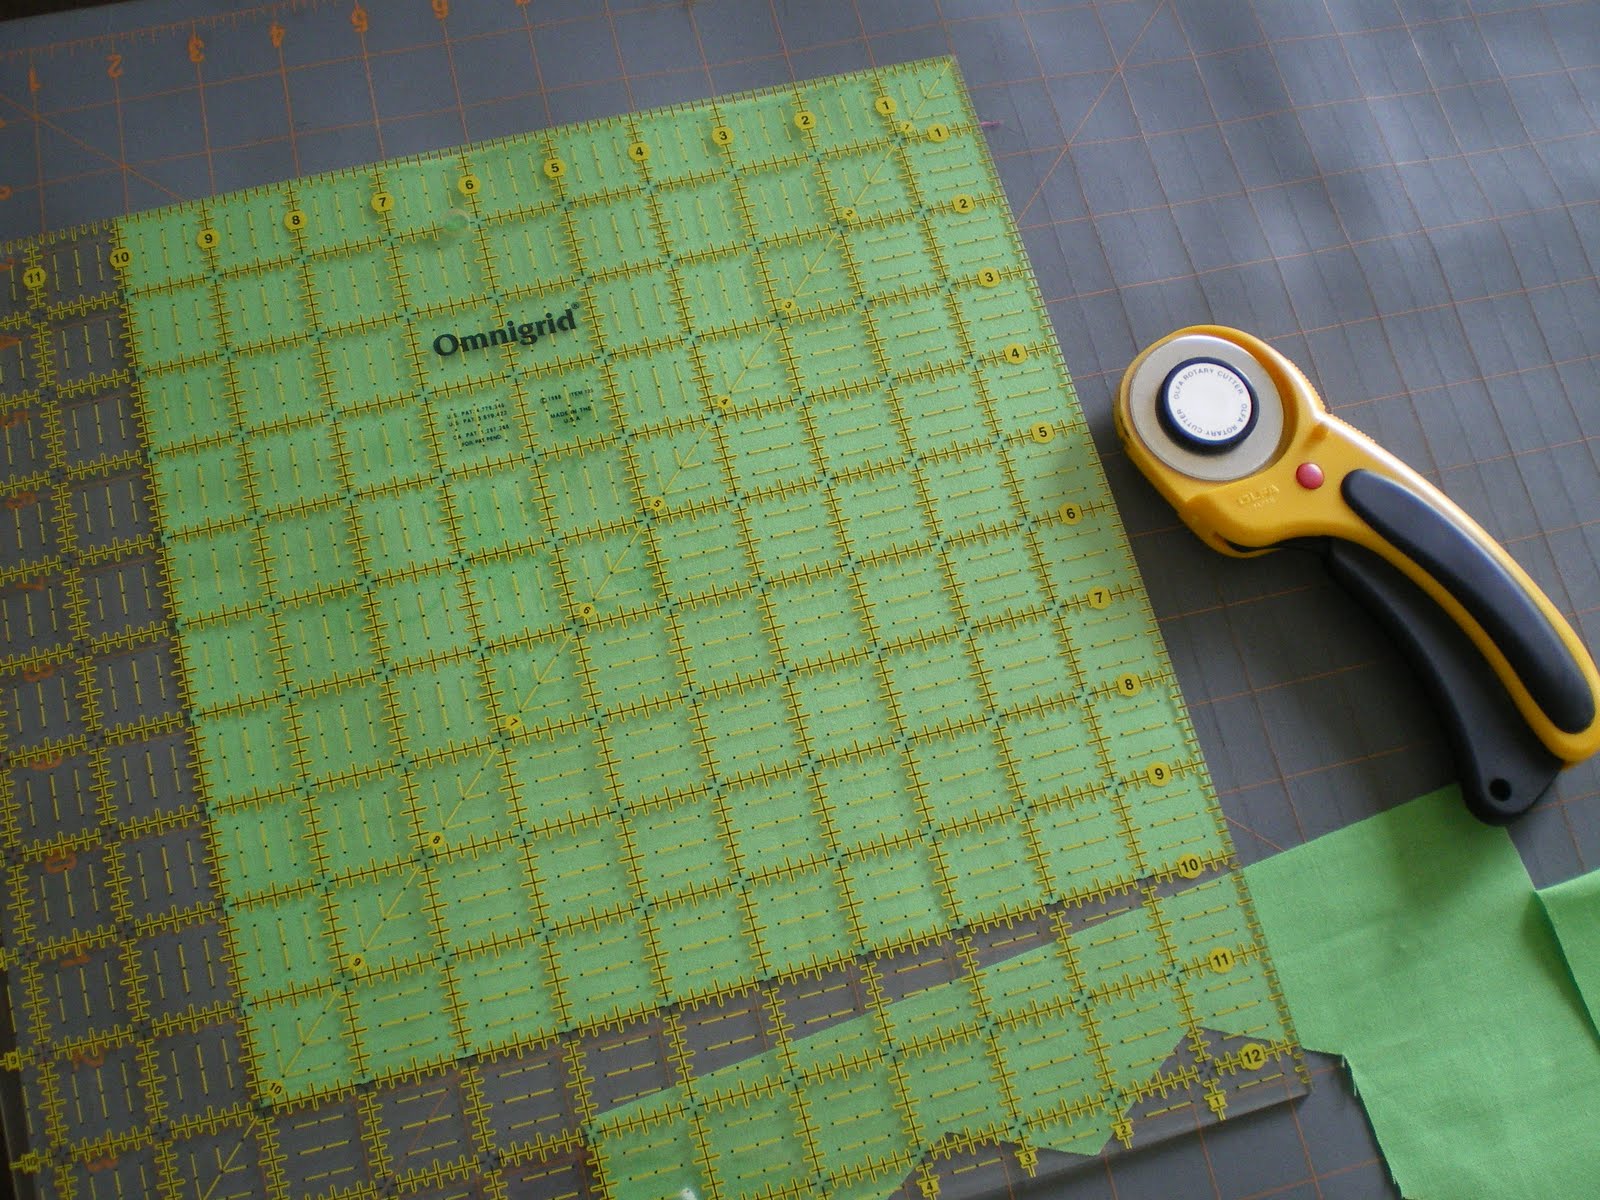
3. Always start cutting with the biggest size first. A larger piece can always be cut down to a smaller size later if that is what you might need. If you can fold the fabric and get a 10" strip, that is a great first cut. I use a large square ruler (12.5") and cut 10" squares.
4. The next biggest cut will be 5" strips. If your remaining scrap is big enough for a 5" strip, cut that. If you can only cut a 5" square, that is good too. If not, move on to the next size...

5. Square the ends.

6. The next size is 2.5". If you can get a 2.5" strip out of what remains, cut that. Or cut a 2.5" square...

7. Continue to the next size: 1.5" strips. I usually don't cut 1.5" squares. That's just too small for me, but you can do your scrap collection however you want to meet your desires. Sometimes I might cut a 1" strip if it works out that way, but that seems to be rare. And don't be afraid to throw away some. Many of my scraps have been sitting around so long they are lucky to get this second chance so I'm ok throwing away a little to make the rest possibly useable.
8. Store the revived scraps in neat piles, ready to use soon!

Piles of colorful scraps... neatly cut and organized. I love the possibilities...

Don't feel limited to this pattern. If you are more likely to use different sizes, by all means, cut what you will use. Maybe: 12", 6", 3", 1.5", etc.
Hopefully this is a helpful little trick for you. Ideally, I would cut my scraps up like this right away so I wouldn't have a huge bin full and waiting, but... my next project is usually tempting me and I'd rather do it instead. Soooo, cutting scraps is what I do when I have some down time, or my sewing machine is getting a tune up like right now.
Good Luck!

2 comments:
That's exactly how I manage my scraps. Well done on the great tutorial and welcome to bloggin!! :o)
Just reading this and oh my, I think i am in good company. I am in the process of organizine my scraps - ever evolving but thanks for the validating my thoughts.
Blessings
Blondie
Post a Comment